◆ 𝙝𝙩𝙢𝙡 𝙜𝙤𝙤𝙙𝙞𝙚𝙨 𝙗𝙮 ❷🎯❷
|
◆ 𝙝𝙩𝙢𝙡 𝙜𝙤𝙤𝙙𝙞𝙚𝙨 𝙗𝙮 ❷🎯❷
|
|
|---|---|
|
Posted 2020-12-19 22:35:03 (edited)
◆ html goodies
rules
Let's get right to the point! By installing and using my goodies you agree to the following terms: DO NOT remove, obscure, or overwrite my credit. DO NOT resell/sell custom designs of these goodies. These are purposely free to use and easy to edit without the need of payment. Furthermore, DO NOT just take and sell these codes as your own. I do not and will not give anyone permission to do so. DO NOT reupload the codes of these goodies anywhere without my permission and a good reason. DO ask me questions or request editing help, either in this thread or by PM. Code is hard! I am always happy to help explain things, I promise you are not being a bother!
installation
For both profile and forums codes: before you hit Save Changes or Preview, MAKE SURE YOU HAVE "Preserve line breaks" UNCHECKED! Leaving this checked will break your code. You do not need to be well-versed in CSS or HTML in order to use these codes (though experience helps a lot)! Everything you must know will be described in this section. For the most part, customization instructions are already written into the HTML in the form of comments, surrounded by dashed brackets. These tell you where to insert your chosen images, where to change colors and fonts, et cetera. It's up to you to follow the directions carefully so you don't get lost in a jumble of code. for profile goodies: applying the code Underneath each of my profile-based goodies are two links listed: the CSS link and the HTML link. The former will be pasted into the "CSS Files" portion of your profile editor, and the latter will lead to a Pastebin site containing the code to be pasted into the main HTML box of your editor. You will be majorly editing the HTML code itself to customize the goodie to your creative desires. Your profile editor is always at the bottom of your Den or Profile page.  Then, click on your goodie's HTML link to be taken to the Pastebin page. Scroll down to the textbox labeled "RAW Paste Data", copy everything, and paste it into the large HTML portion of your editor.  You are now ready to follow the in-code instructions and edit the HTML to your heart's content. Swapping image URLs is pretty easy. First, locate the URL of the image currently in place. In my code, this is already pointed out by surrounding comments next to the URL.  Highlighted is the URL you will replace. When swapping, you will need the URL of the image you want to use. Make sure it is a valid URL (paste it into your searchbar and see whether you get led to the image itself - the URL is valid! - or to an error page - something's wrong with your URL). Colors are slightly trickier because you will have to use color codes. A color code (either in hexadecimal or RGB format) is a specific code that translates to a specific color. This site contains a plethora of information about colors in HTML, as well as a color picker, which you should be using to find your color codes.
Like with URLs, my code should point out where color codes are used and can thus be interchanged to your liking. Highlighted is a hexadecimal code. Use the color picker provided to select a color you prefer, copy the hex code generated for you, and swap this highlighted bit out for your own hex code. As mentioned, my codes have comments written out throughout them to show you where colors and images can be changed, but did you know that you can write your own, too? In general, comments are excellent for keeping notes about which pieces of your code does what, and if this would sound useful to you, don't be afraid to write out your own. One of the great things about the latest HTML update is that the editor now preserves your comments exactly as you type them! Previously they would just disappear upon saving changes, which made commenting useless. To create a comment, follow the shown format: one left-facing bracket + one exclamation mark + two dashes opens a comment, and two dashes + one right-facing bracket closes a comment.  Be sure you open and close each of your comments carefully and precisely, or else you might accidentally comment out a significant portion of your code, making it unable to show upon saving changes. Read more about HTML commenting here. for forum goodies Underneath each of my forums-based goodies is a single link which will take you to the Pastebin site containing the HTML needed for the goodie. Since the Forums post editor is just one HTML box, there aren't many steps to take apply the code other than to visit the provided Pastebin page and copy/paste the code into the one box. Be sure to carefully read the comments to see where you can start inputting your own text and content. ◆ profile codes
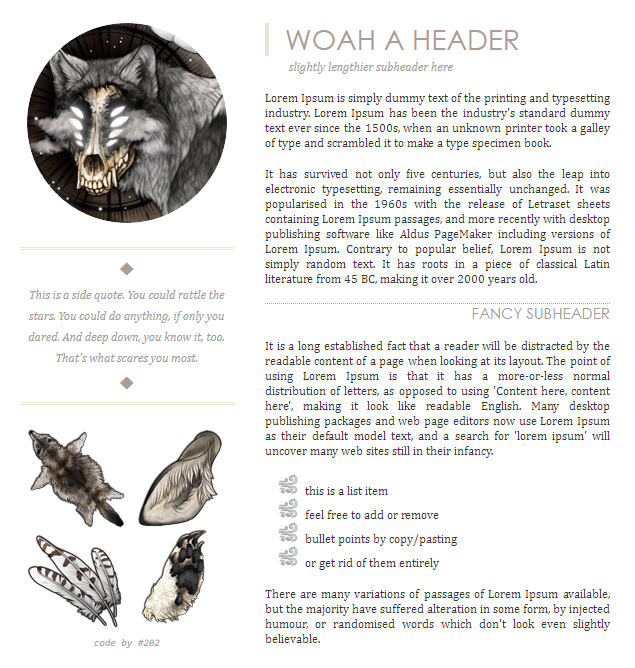
wolf slideshow
AN AUTOMATIC SLIDESHOW SHOWING OFF WOLVES, ART, WHATEVER  CSS
HTML
This slideshow supports three images exactly, adding more or less slides could break the slideshow. In the future I may plan to write versions for four images, five images, etc. Don't want the floating black descriptions for a particular slide, or for all slides? Find and delete this highlighted bit of code to get rid of a slide's description box. 
rainbow sliders
A BOX WITH SLIDING TABS THAT OPEN SMOOTHLY ON HOVER  CSS
HTML
When hitting "Preview" and looking at the previewed box, the tabs may appear squashed or shortened. This is normal! Upon hitting "Save Changes", the tabs will appear normally. I have no idea why they do that in the preview. You can add and delete tabs to your liking. Read the code and see that each tab has its own repeating section of code, as shown below; the highlighted bit represents one tab. Copy/paste this chunk of code to add a tab, or delete it to remove a tab. 
talking pagedoll
A FIXED PAGEDOLL WITH AN EDITABLE SPEECH BUBBLE  CSS
HTML
Note, this is a responsive element. On mobile view, the pagedoll does not float to the side, but instead sits inline with the rest of your content, and with the speech bubble visible. This is to prevent interference with mobile user experience. You can change the position of the pagedoll. See the bit that says div class="float bl ani"? The bl part is short for "bottom left". You can swap this out for br (bottom right), tl (top left), or tr (top right). The ani part is short for "animated"; if you want your pagedoll to stand perfectly still and not bounce, remove ani and the space before it. e.g. div class="float bl" will get you the pagedoll bottom left without the bounce animation. Don't need the speech bubble, just want the image? Simply delete this highlighted portion and this should get rid of the bubble. Make sure to not accidentally delete the second "div" tag. 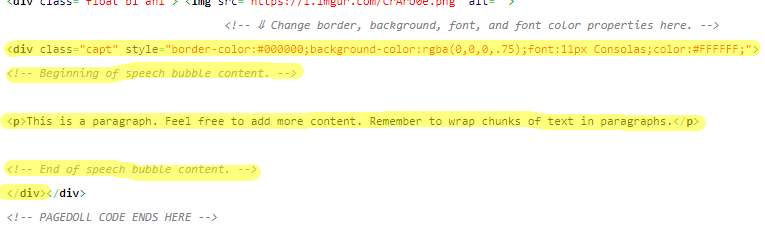
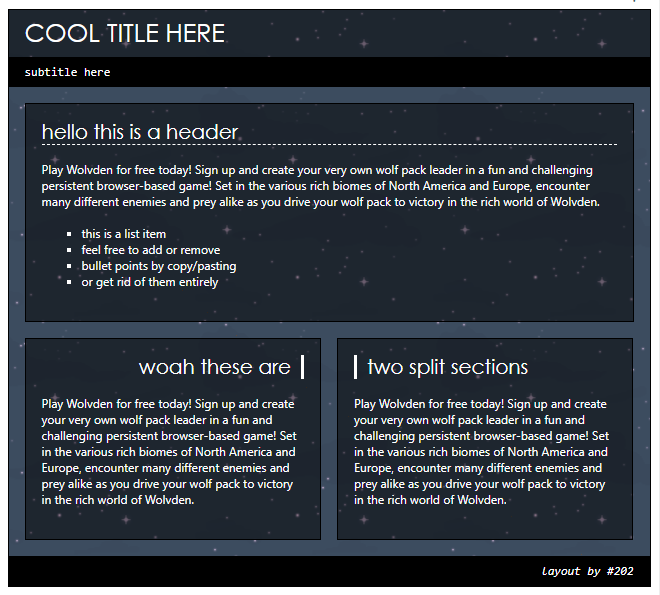
split hexbox
TWO BOXES WITH A HEXAGONAL CENTER IMAGE  CSS
HTML
Note, this is a responsive element. On mobile view, the hexagon disappears. This allows more room for the boxes' content to show without being squashed on a narrower screen. When hitting "Preview" and looking at the previewed content, the hexagon may be aligned a little low. This is normal! Upon hitting "Save Changes", the hexagon will align normally. I have no idea why it does that in the preview. Don't need the extra caption, just need the image? Simply delete this highlighted portion and this should get rid of the caption. 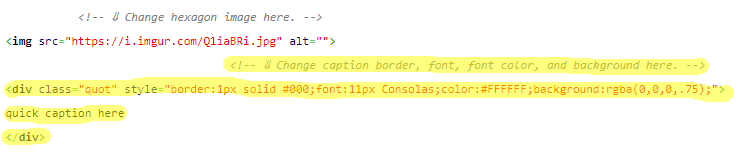 ◆ forums codes
biography
glass cells
simple serif
|
 *barks at you* #202 |


|
Posted 2020-12-19 22:35:27
Reserving just in case. And we are open :3 |
*barks at you* #202 |
|
Posted 2020-12-20 06:55:48
These are so cool! I'll definitely be messing around with these to redo my den. Thank you. <3 |
 ★ Zira ★ #28437 |
|
Posted 2020-12-20 12:36:39 (edited)
Thank you so much! This is awesome, I now have a little chicken that says welcome :) |
 Chicken #20611 |
|
Posted 2020-12-20 21:34:51
Updated with a new profile goodie, Split Hexbox. |
*barks at you* #202 |
|
Posted 2020-12-21 08:22:43
Ahh I love it! |
★ Zira ★ #28437 |
|
Posted 2020-12-21 15:59:12
Just put the duck in my den! love him so much :) |
Sarah She/Her #27489 |
|
Posted 2020-12-21 22:39:41
Updated with a new profile goodie, Expanding Card. somebody stop me. |
*barks at you* #202 |
|
Posted 2020-12-21 22:41:25 (edited)
I adore your work <3 Thank you! I'd love to commission you sometime when you're open for requests!
|
 RelevantKoala #15056 |
|
Posted 2020-12-21 23:26:08
@RelevantKoala Thank you for the kind words qwq For now, unfortunately the pagedoll is just configured to be alone in that one corner of the screen, and I'd have to code another pagedoll separately to put it anywhere else. But in a future update - maybe even tomorrow when i have the time - I'm planning to code alternate, and stackable, versions of the pagedoll in different areas of the screen. |
*barks at you* #202 |